Dovetails…
The word itself incites thoughts of fancy wooden boxes or complex joinery.
“Wouldn’t it be soooo cool if I could make dovetails?”
This is a question that many a woodworking supply company has answered by selling myriad dovetail jigs. Oh, and not to mention all the extra jig templates you can buy for the jig to make your machine made dovetails look, well, not so machine made.
Don’t even mention hand cut dovetails. Oh my. (thank you, voice of George Takei inside my head…you make my writing so much more interesting to read aloud.)
Well, I’m here to challenge that notion that you seem to think you lack the skills to perform such a seemingly impossible task. I’m here to show you that it’s actually fairly quick and easy to both layout and cut dovetails that function and look nice, and definitely don’t look machine made. (wait, is that a good thing? …yeah, definitely)
First step, and the topic of this initial article, is to create your own layout template to make marking out dovetails something you could do in your sleep.
Now, credit where credit is due, I first saw this dovetail layout template on Paul Sellers’ blog, aptly titled “The Paul Sellers Dovetail Template.” I presume because it was designed by Paul Pellers, and because it’s a dovetail template.
One side of the template has both of your dovetail angles, and the other side is a little speed square to wrap your lines around the faces of your workpiece without having to reach for your bigger square.
Anyway, you could go over to his site and read through the post (he adds some interesting points), but I’ll give you a quick rundown of how he makes these handy little templates to spread the word. You should still visit his blog though, lots of valuable info there.
I made a replica of this template in the SketchUp to help illustrate the creation process of this template. Watch the video and it will help put the instructions in a little more context as you are reading through.
OK, back to real life…
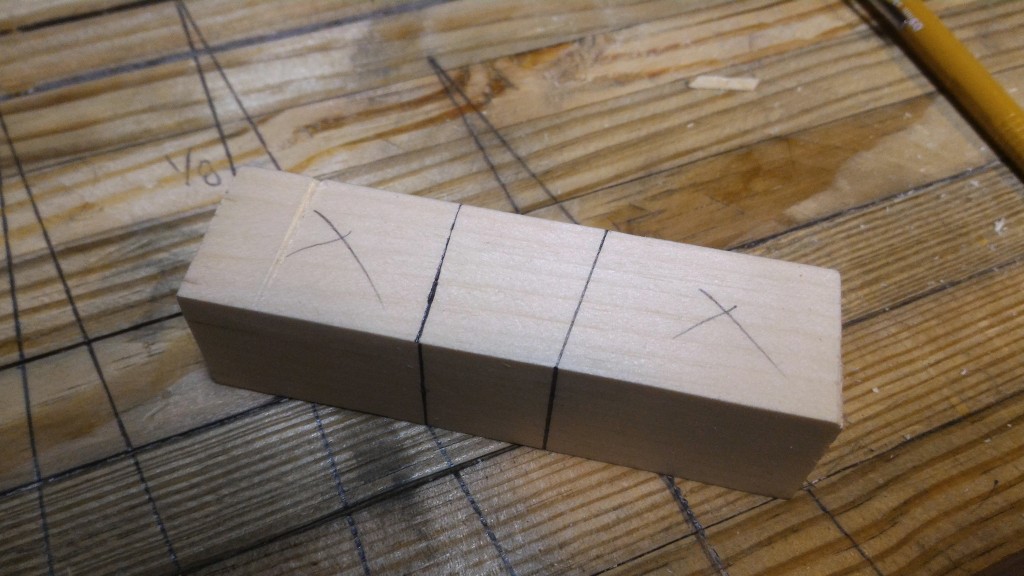
First order of business…find a (square) piece of wood that’s about 1.5” x 1.5” x ~4” long. This could be one of those little pieces of 2×2 oak or poplar they sell at home depot near the common pine.
I chose to make mine out of pine first, since
- that’s what I have laying around my shop and
- it’s cheap and I figured I can make another with any changes I think necessary.
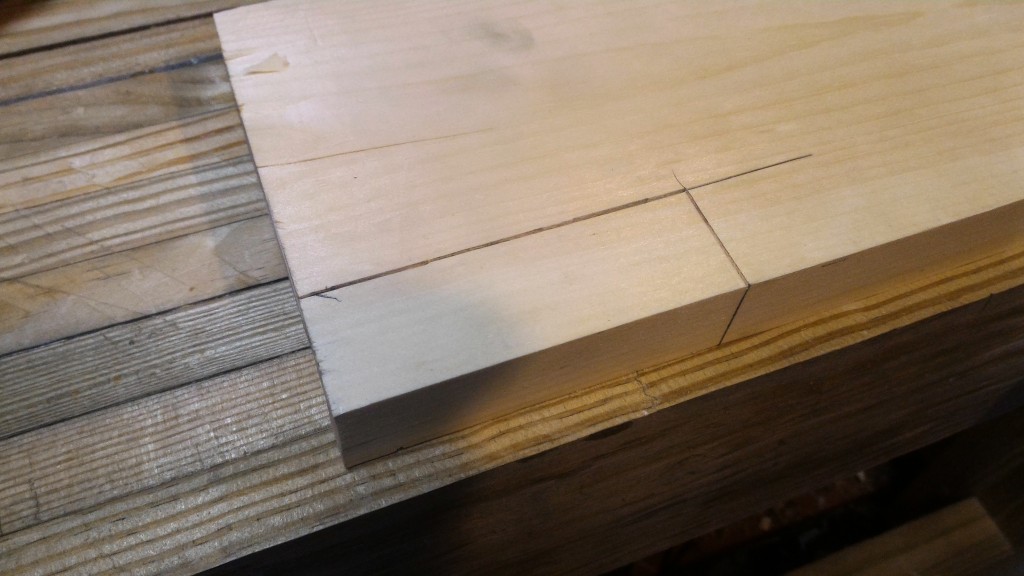
Mark 1.5” in from one end, all the way around the faces (the long 3-4” sides of your piece). This will be the speed square side of your template…square all the way around.
Now Mark 1.5” in from the other end, but only across one face. This will be the dovetail side of the template. Hopefully not square all the way around, assuming you want your dovetails to look nicer than box or finger joints.
Now that you have the dovetail side reference mark on one face, let’s call that face the side, you will need to transfer an angle (yet unknown) across the top and bottom from this reference mark. This will represent how much of an angle your dovetails will have.
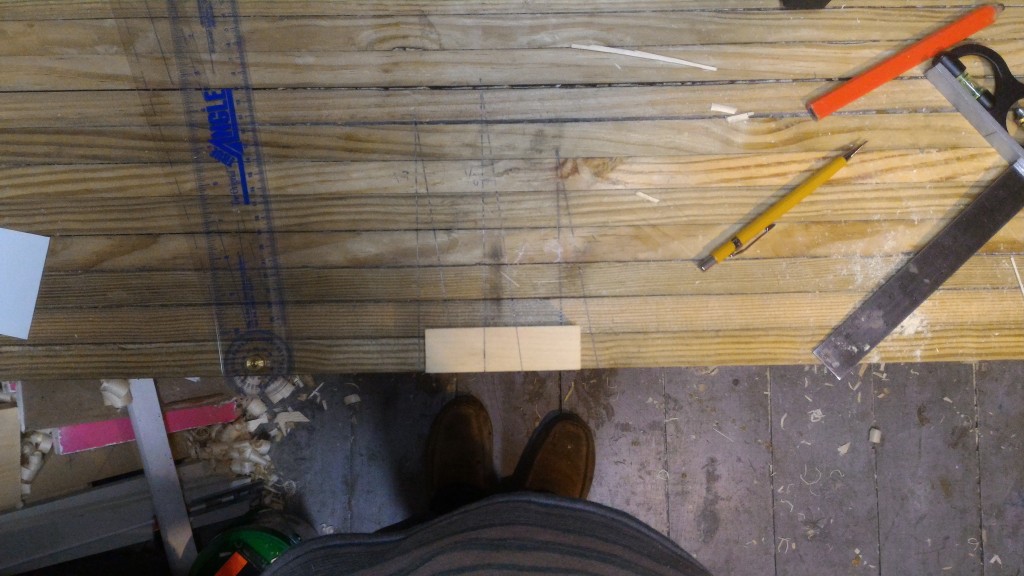
To find this angle…measure out a 1” line along the edge a piece of wood or the edge of your workbench
Make a right angle line to that from one end that is 6” long
Connect the lines to make a triangle…the hypotenuse (long side) of that triangle should now be at a 1:6 angle commonly used for dovetails. Lower numbers like 1:5 are used for a more bold looking dovetail and more mechanical strength in the joint.
Higher numbers lend themselves to finer joinery and perhaps more elegance, but have less mechanical strength, as you would imagine, because there is less of a bevel to hold the piece in place.
Grab your handy bevel gauge (try using a pair of scissors if you don’t have a bevel gauge) and line up the base with the edge of your wood or workbench and set the bevel to the angle of your hypotenuse.
Lock it down. clamp your scissors…whatever it takes to maintain that angle.
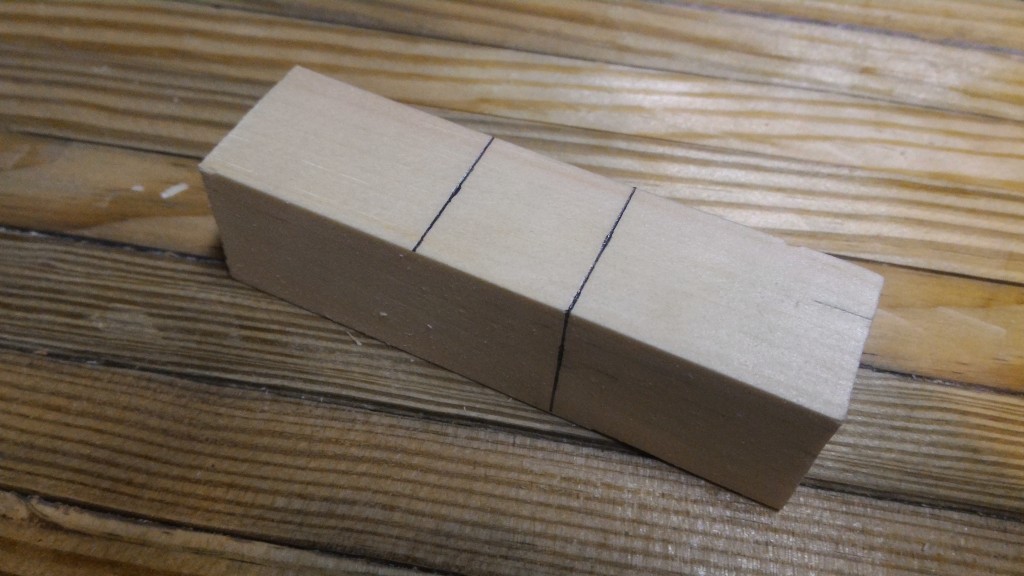
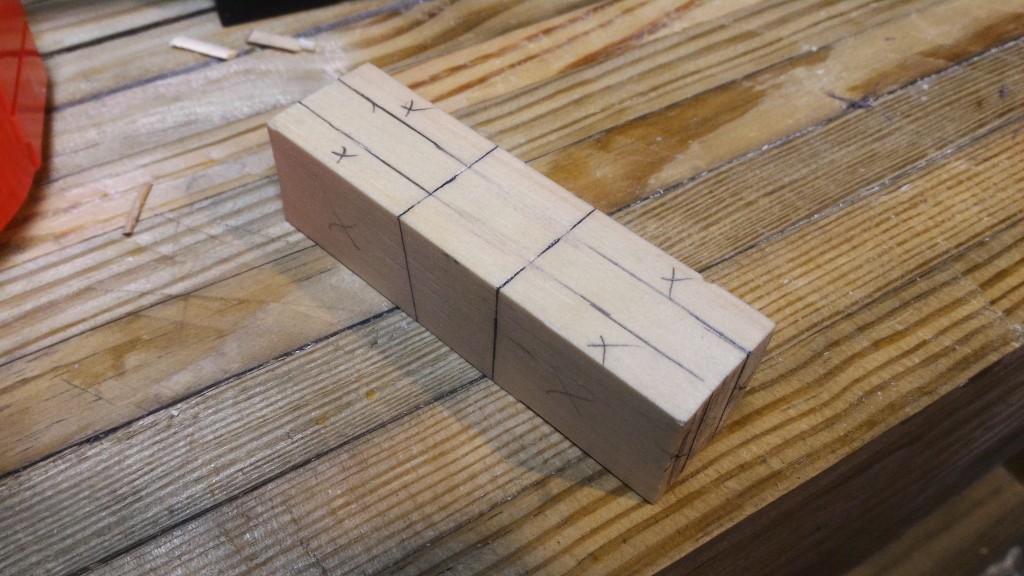
Transfer that angle across the top starting from where your dovetail reference mark on the side meets the top face, and then repeat that on the bottom so that the angles are pointing in the same direction.
Connect those lines across the other side, which should be a little bit closer to the end due to the angle you just transferred to the piece.
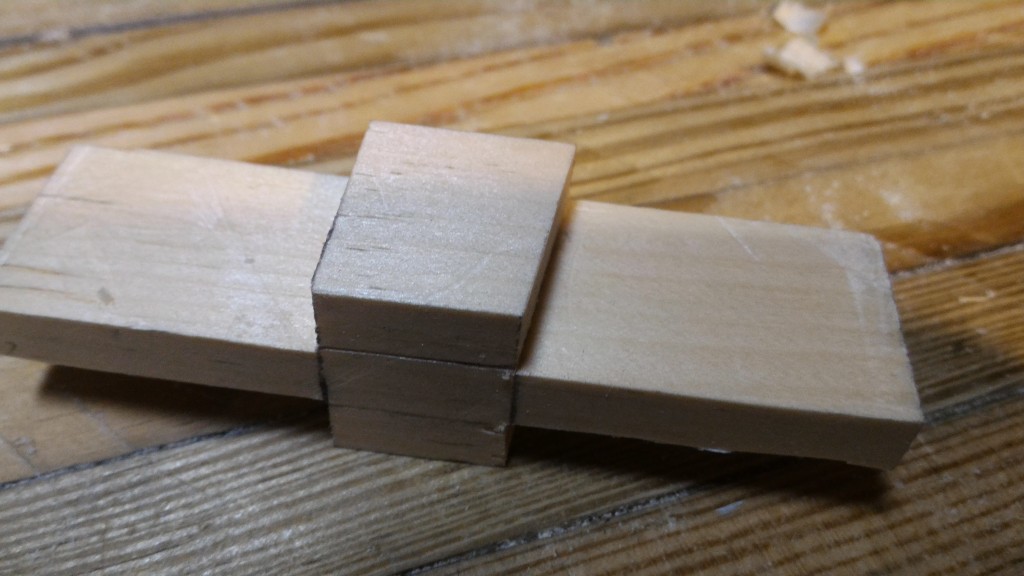
Now we can begin marking what you’ll actually cut away.
Mark the depth ½” on each side around the top, ends and bottom of the piece. Don’t forget to Mark out the waste bits with x’s so you don’t cut the wrong thing out.
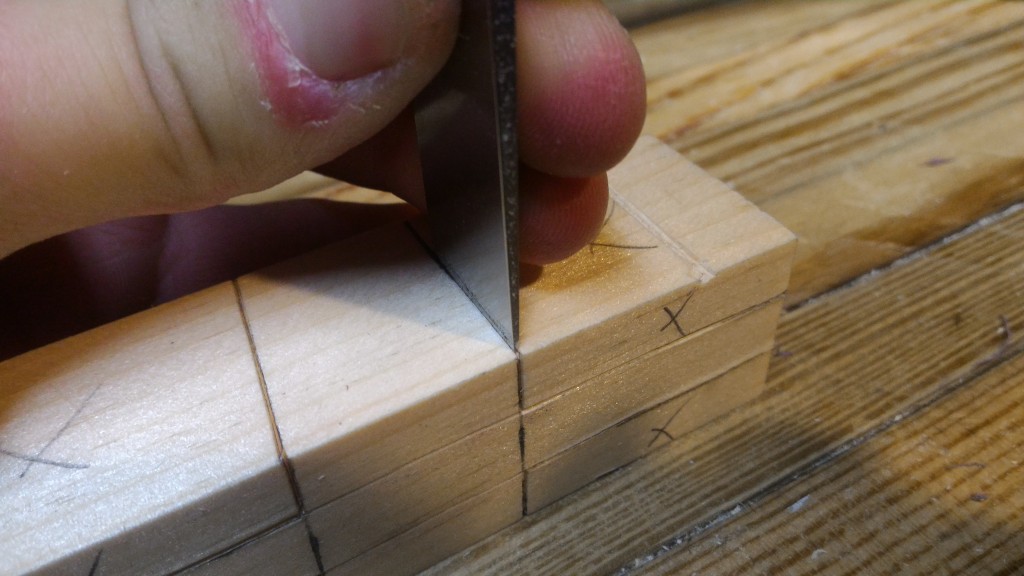
If you didn’t mark your lines with a marking knife, use a chisel to cut into the pencil line to give you a knife wall to cut against. Pare away a chamfer up to the knife line all around where you will cut. This helps guide the saw to cut straight.
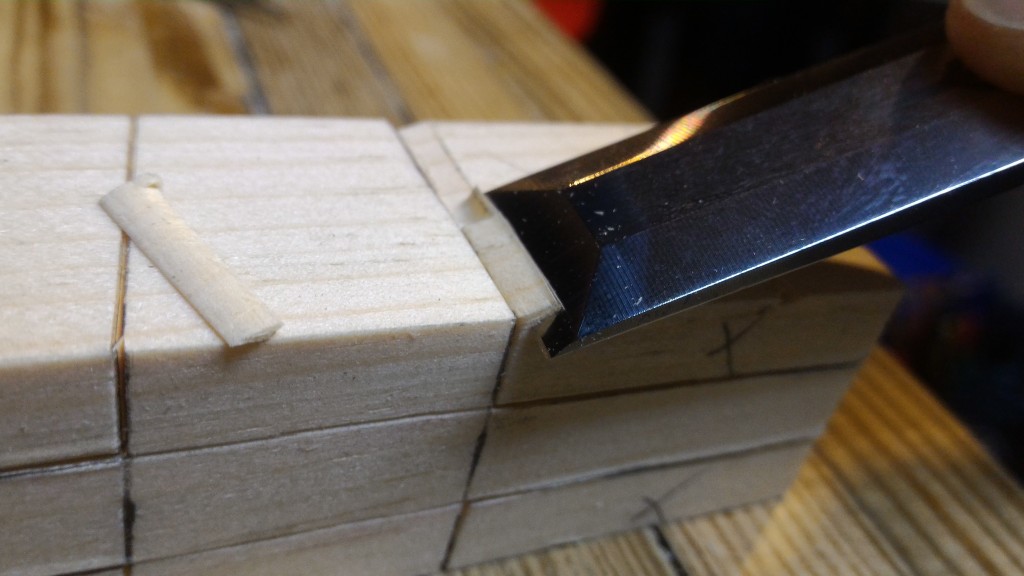
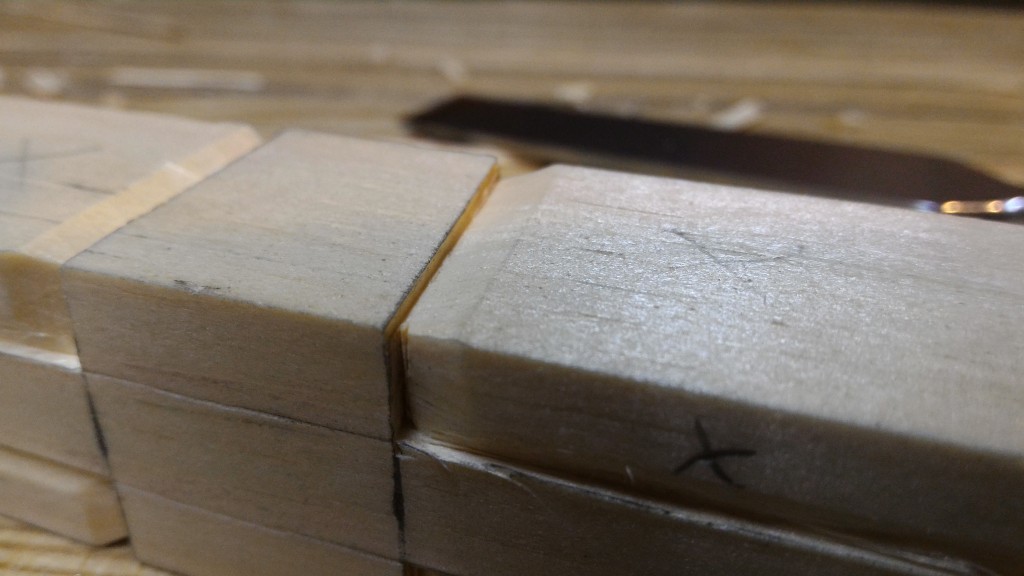
Finally, make all your marked cuts, being careful to follow the dovetail angle on that end…you aren’t sawing down to a square bottom with that cut.
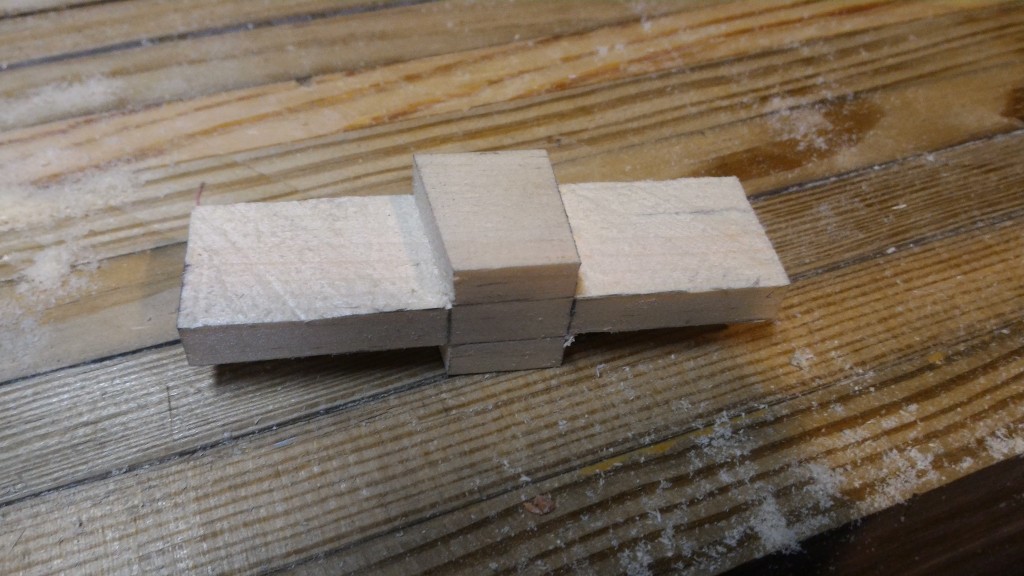
Clean up the faces with a chisel and you are all set!